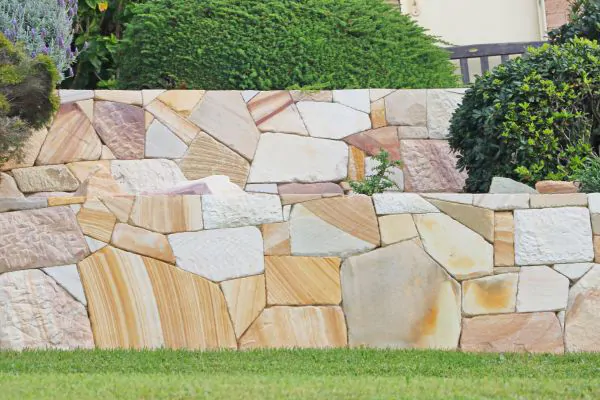
The key to a successful retaining wall project lies in proper installation. In this comprehensive guide, we will take you through the essential steps to build a retaining walls installation ensuring that your project is a resounding success.
Essential Steps to Build a Retaining Wall
1. Plan Your Project
Before you start digging or buying materials, take the time to plan your retaining wall project. Consider the purpose of the wall, the materials you’ll use, and the design you want to achieve. Sketch out the wall’s layout, taking into account any curves or corners.
2. Gather the Essential Tools
To build a retaining wall effectively, you’ll need some essential tools and materials. Having the right tools at your disposal ensures that your retaining wall installation proceeds without unnecessary hitches.
3. Excavate the Area
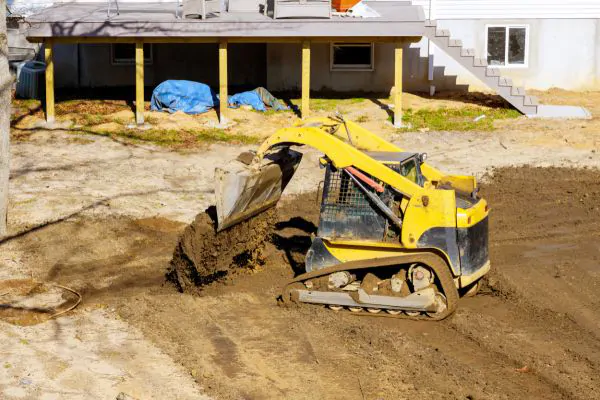
Once you’ve planned and gathered your tools, it’s time to dig. Start by excavating the area where your retaining wall will be built. The depth of your excavation will depend on the height of the wall and the type of soil.
4. Lay the Foundation
The foundation is the most critical part of your retaining wall. It provides stability and ensures that the wall remains structurally sound. Fill the trench with a layer of gravel, compacting it thoroughly. Then, place your first row of retaining wall blocks or stones on top of the gravel.
5. Build the Wall
As you continue building your retaining wall, make sure to stagger the blocks or stones for stability and a visually appealing look. Use landscape adhesive to secure the blocks together. Check for levelness and alignment frequently as you progress.
6. Reinforce as Necessary
For taller retaining walls, it’s essential to reinforce the structure. Use geogrid or geotextile fabric to add stability by connecting it to the back of the blocks and extending it into the soil behind the wall.
7. Backfill Gradually
As you build the wall, backfill behind it with gravel or suitable backfill material. Compact the backfill periodically to ensure proper compaction and prevent settling.
8. Finish and Cap
Finally, add the finishing touches to your retaining wall. Choose a capstone or coping to complete the look and protect the top of the wall from weathering. Secure the capstones in place using landscape adhesive.
How to Install a Retaining Wall Like a Pro
Now that you’ve seen the essential steps for building a retaining wall, let’s delve into some pro tips to ensure your project is a resounding success.
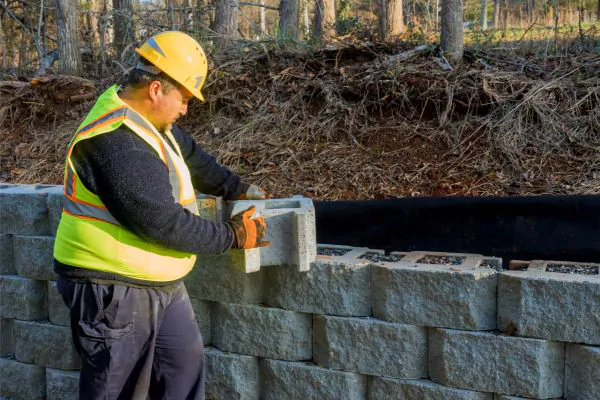
– Proper Drainage is Key
To prevent water buildup behind your wall, use gravel or drainage pipes to direct water away from the structure. Adequate drainage is essential for the long-term stability of your retaining wall.
– Choose the Right Material
Selecting the appropriate retaining wall blocks or stones is crucial. Consider factors like color, texture, and size to match your landscaping design.
– Seek Professional Advice
For complex or high-stakes retaining wall installation projects, it’s wise to consult with a masonry specialist. More than just reading a retaining wall installation guide, these experts can help you navigate potential challenges and ensure your retaining wall installation complies with local regulations.
Step-by-Step Tips for Retaining Wall Success
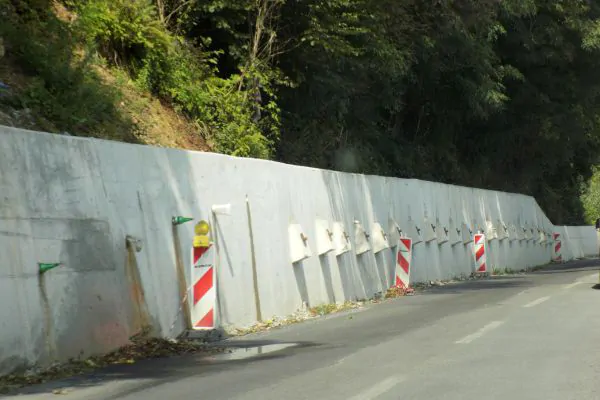
- Proper Drainage – Ensure adequate drainage behind the retaining wall to prevent water buildup and pressure.
- Quality Materials – Choose high-quality materials like concrete blocks, stone, or treated timber that are suitable for your specific project.
- Solid Foundation – Properly compacted soil or a concrete footing will provide a strong base and prevent settling over time.
Essential Tools Needed for Your Retaining Wall Project
– Shovel and pickaxe for excavation
– Level for ensuring a straight wall
– Tape measure for precise measurements
– Rubber mallet or dead blow hammer for tapping blocks into place
– Masonry saw for cutting blocks if needed
– Geo grid or geotextile fabric for reinforcement
– Gravel and backfill material
– Retaining wall blocks or stones
– Landscape adhesive for securing blocks in place
– Safety gear, including gloves and eye protection
Relying on the Expertise of a Masonry Specialist
Opting for a masonry specialist means relying on their extensive knowledge and experience in retaining wall construction. These experts navigate intricate details, manage potential challenges, and ensure compliance with local codes and regulations. Their skillful guidance not only enhances the structural integrity of your retaining wall but also provides peace of mind, knowing that the project is in capable hands.
Wrap-Up
In conclusion, the installation of retaining walls may seem like a daunting task, but with careful planning, the right tools, and adherence to these step-by-step instructions, you can create a sturdy and aesthetically pleasing retaining wall that will stand the test of time.
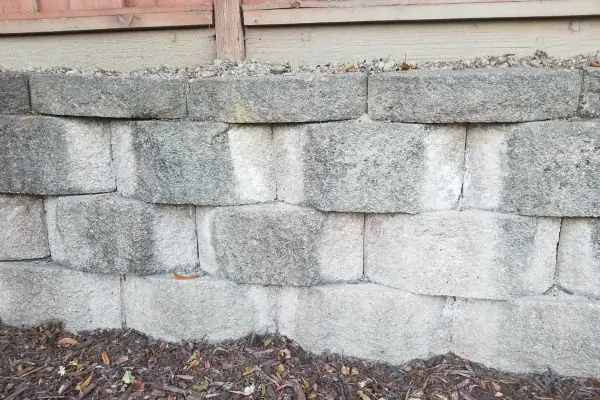
Top Masons in South Shore, MA
Concrete is a durable material that, if molded the right way, can be truly an aesthetic and functional addition to any home. For a safe and polished concrete feature, call Masonry Contractor South Shore MA today.


